How To Clean Nespresso Vertuo Next (A Step-By-Step Guide)

Have a coffee machine of Nespresso Vertuo Next, want to clean it? If you are searching for how to clean Nespresso Vertuo next then you are at the right place. In this post, I’ll teach you how to clean and descale your Nespresso Vertuo next. In this post, we’ll answer some frequently asked questions and provide a step-by-step guide to clean Nespresso Vertuo next and how to descale. This is important for you to know how frequently you should clean it to prevent it from starting to malfunction and bad coffee. How often should you clean Nespresso Vertuo next? If you’re questioning, how often should you clean Nespresso Vertuo next? then the very simple answer is; clean and descale Nespresso Vertuo next in every 6 months or after making 500 to 600 coffees, this is recommended by Nespresso. How to clean Nespresso Vertuo next There are two main steps for cleaning Nespresso Nertuo next “descale” and “clean” and then sub-steps in both of these, if you really need instructions for how to clean Nespresso Vertuo next you need to complete desclaing step first. READ ALSO: 10 Best Microfiber Soft Clothes For Car And Kitchen Step 1 – Descaling Nespresso Vertuo Coffee Machine The first step is descaling the coffee machine. Before you’ll begin to clean your Nespresso Vertuo next coffee machine, first you need to complete the descaling process. Descaling is vital because it eliminates any buildup of coffee oils and minerals in the machine that might occur over time — This is how to descale Nespresso Vertuo next. You will need to buy a descaling solution. It’s also recommended by Nespresso that all models should be descaled with a Nespresso Descaling Kit because it contains natural solutions. Note: any other solutions (vinegar or store-bought descalers) may damage your Nespresso Vertuo next. Buy Nespresso Descaling Solution, Fits all Models How to descale Nespresso Vertuo next Coffee Machine? After getting the right descaling solution you’ll need to follow the step-by-step descaling guide of the Nespresso Vertuo machine the perfect guide is offered by Nespresso in a PDF file a “Nespresso Vertuo descaling instructions pdf” — don’t worry I’ll share it with you, click on the link below to download nespresso vertuo descaling instructions pdf. Downlaod PDF Step 2 – Cleaning Nespresso Vertuo Coffee Machine How to clean Nespresso Vertuo next Coffee Machine? After descaling your machine and have made your Nespresso Vertuo next ready for cleaning. Let’s get started with the cleaning steps. Clean the outside of the coffee machine: 12 teaspoon baking soda to 1 cup vinegar Apply this mixture to the outside of your machine, wait 3-5 minutes, and then add some soap and water, washing gently with a clean sponge. Using a microfiber cloth and water, eliminate any remaining soda and soap. Avoid getting water into any of the apertures. Cleaning the Water Tank: Remove the water tank from the machine and thoroughly rinse it with warm water. Remove anything eg; coffee grounds that may have been attached to the tank’s bottom or edges. After you’ve washed it, towel it off and replace it in the machine. Coffee Grounds Container: Next, remove the coffee grounds container from the Nespresso Vertuo next and empty any remaining coffee grounds. Before placing it back on the machine, rinse it with hot water and dry it. Clean the Drip Tray: Remove the drip tray from the machine and dump any old coffee grounds. Before placing it back on the machine, rinse it with warm water and pat it dry. Conclusion: This was a piece of my knowledge that I shared with you today hope you found it useful, this is not the only way you can clean it was my persona;l experience you may find a better way from somewhere else. Remember to clean your coffee machine on regular basis to keep it in always tip and new condition. Liked it? Share It! If you found this post much helpful then please don’t forget to share it with your friends and family to help them too, If you have any suggestions you are welcome, to help us to improve and provide quality content share your valuable opinion with us using visiting contact us page. Facebook Twitter Pinterest WhatsApp Reddit

Cleaning Tips: How To Clean Wooden doors Step-By-Step Guide And Tips For Cleaning Wooden Doors

how-to-clean-wooden doors step by step guide for cleaning wooden doors

Uproot Cleaner Pro is supported by our users like you. When you make a purchase using our links we may earn some commission. How To Clean Wooden Doors Byself Like A Pro Follow This Quick Step-By-Step Guide And Useful Tips How To Clean Wooden Doors: In this article, we will share a short quick guide for cleaning wooden doors in just 4 steps. It’s an effortless job you can also do it. Just follow my instructions and keep the tips in mind then you will be able to clean your wooden doors in just 4 easy steps like a professional. How Wooden Doors Get Dirty And How Frequently Should You Clean Wooden Doors? The wooden doors get accumulated with dust, oil, grime, and other types of stains, which makes the door diminish look. Cleaning your wooden doors on a daily or weekly basis is essential. Wooden doors that are properly cared for and maintained not only appear like new but also last longer than typical. ALSO READ: The Best Homemade Window Cleaning Solution – Tips To Clean Windows How To Clean Wooden Doors In 4 Easy Steps Without wasting your valuable time, let’s move to our wooden door cleaning procedure and see some working methods for keeping the appearance and feel of wooden doors in great condition. 1. Regular Dusting Of Wooden Doors Because doors are coated with dust and insects, regularly dusting is really beneficial. To avoid the accumulation of dust, dirt, and spider webs, use this method: take a feather duster & vigorously dust the wooden doors everyday or every three days. Use a tiny toothbrush or paintbrush to dust difficult areas. 2. Using A Mild Dish Soap Use a mixture of mild dish soap and water to remove small scratches/marks or filth from your wooden door. 1/4 teaspoon dish soap and a cup of water in a spray bottle Spray that solution all over the area of the wooden doors and scrape with a cloth. Wipe the surface clean with a moist sponge to eliminate any soap residues. Finally, you use a microfiber towel to dry your wooden door, and it completes. 3. Mineral Spirits To completely remove tough stains, dirt, or grime accumulation use the Mineral spirits. Simply damp a soft cloth in mineral spirits and massage the area surrounding the knobs as well as other hardware such as the hinge. This product is available on Amazon or your nearest home and garden stores. 4. Liquid Polish For Furniture Mineral spirits might diminish the shine of the door, so apply the liquid furniture polish after. This will not just remove any lingering tough stains and minor scratches, but it will also restore the wood’s original gloss. Apply the liquid furniture polish to the door in the manner specified in the product description. Then, using a dishcloth, massage the surface. Buy Mineral Spirits Special Tips For Cleaning Doors Mineral spirits might diminish the shine of the door, so apply the liquid furniture polish after. This will not just remove any lingering tough stains and minor scratches, but it will also restore the wood’s original gloss. Apply the liquid furniture polish to the door in the manner specified in the product description. Then, using a dishcloth, massage the surface. Liked it? Share It! If you found this post much helpful then please don’t forget to share it with your friends and family to help them too, If you have any suggestions you are welcome, to help us to improve and provide quality content share your valuable opinion with us using visiting contact us page.

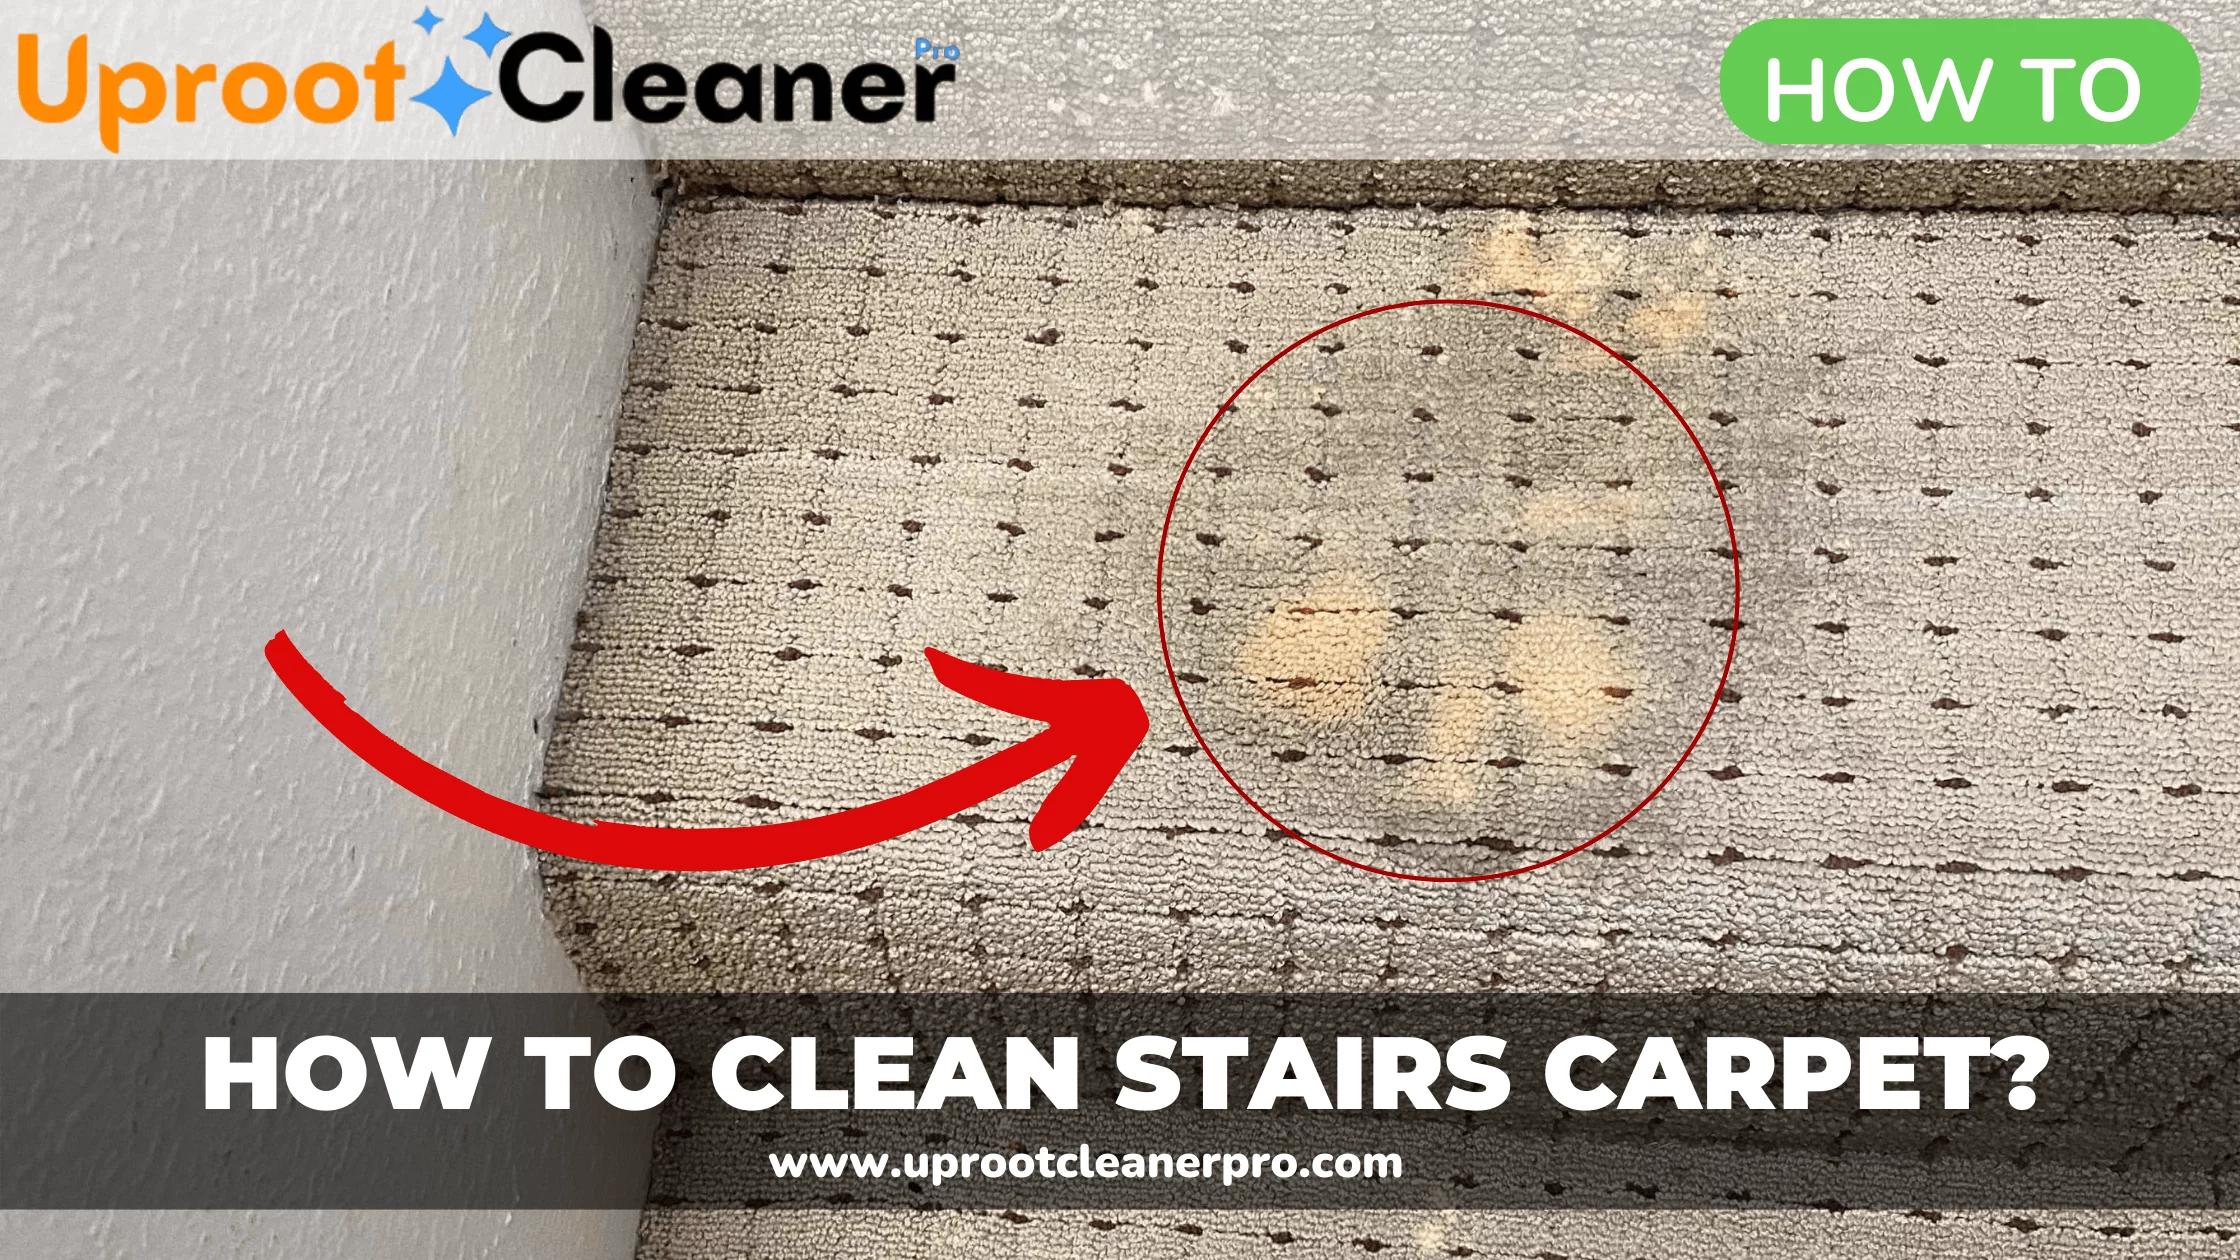
How To Clean Stairs Carpet By Hand: Step-By-Step Guide

How to clean carpet stairs by hand

Uproot Cleaner Pro is supported by our users like you. When you make a purchase using our links we may earn some commission. How to clean stairs carpet by hand: If you are searching for “how to clean stairs carpet by hand” then your search end here. Hello and welcome to Uproot Cleaner Pro. I’m your today’s stairs carpet cleaning expert, In this post, I will be sharing a most effective step-by-step guide on how to clean stairs carpet so are you ready to clean your stairs carpet with me? Let’s start cleaning your stairs together don’t worry it’s not so hard I tell you a simple and easy cleaning process for stairs carpet with the best tips you just need to spend a couple of minutes with me and there you will go. Hire a Carpet Cleaning Professional If you’re inexperinced or want excelent cleaning of your carpets, it is recommended to look for cleaning services and hire a professional for cleaning. How To Clean Stairs Carpet By Hand (Without Machine) Before we start our tutorial on “How to clean stairs carpet by hand” you must prepare yourself to clean the stairs carpet and remove tough stains from the stairs carpet eg: get some cleaning materials I will explain later what things we need to clean the stairs carpet. How Often Should We Clean Our Stair Carpets? A lot of people just come to see “how often should we clean our stairs carpet” so this will be the best answer for them. It’s a great practice to clean your stairs carpet on a regular basis at least once a week so you can keep your carpet stairs clean we love clean houses so do not hesitate to clean them, tip you can set your mind to cleaning your carpet stairs on weekends! let’s dive into our step-by-step guide for cleaning stairs carpets how we can clean them and what material we need in this. Because of the natural accumulation of dirt and filth, your carpet stairs require frequent vacuuming. Cleaning alone will not suffice to complete the cleanup. Learn how you should clean your stairs carpet by hand. ALSO READ: 3 Best Carpet Cleaning Tips And Tricks – Carpet Cleaning Hacks  Get Ready! How To Clean Stairs Carpet Here I’m bringing the simplest way how to clean stairs carpet by hand by making a stairs carpet cleaning solution at home, you don’t need to do so much hard work just follow the below step-by-step guide, and boom sees the cleaned carpeted stairs. How To Clean Stairs Carpet: Things You Will Need Broom or bristle brush Carpet Shampoo Scrubbing brush Warm water Towel/Cloth How To Clean Carpet Stairs By Hand ( No Machine ) How to keep carpet stairs clean, use the following stairs carpet cleaning method and repeat it once a week to keep your carpet stairs clean, enjoy new-looking clean stairs. Step-By-Step Guide – Clean Stairs Carpet Wipe all the light dirt and dust from the stair carpet using a strong bristle brush or a broom. If your carpet is heavy/thick and with a high pile, you will be required to vacuum more aggressively to agitate the pile and remove all particles from the bottom. Cleaning your carpeted stairs by hand necessitates removing stains produced by liquid spills as well as mud. Prepare a solution of carpet shampoo with warm water. Use this solution you made to remove the stains. Using a scrubber, apply the carpet shampoo to the stair carpet. You must keep the shampoo on the stain for at least 35 minutes if it’s deep and old. How To Remove Stain From Stairs Carpet? Clean particular stains with carpet shampoo and towel – If you have been wondering how to clean stairs carpet by hand if it becomes soiled, there’s a simple solution. Combine a decent carpet shampoo with water. Then, using a brush, apply the solution to the stain and vigorously work it in. Wipe off the water and shampoo with a towel or cloth at this stage. The stain will be removed after drying. Conclusion: Our step-by-step guide on “how to clean stairs carpet by hand” ends here. We believe this will help you clean your carpeted stairs easily by hand because it was our used and tested method which we shared with you today, hope you liked our post if yes, please don’t forget to share it. Thanks for your love! hope you enjoyed this useful article. If you liked this information, please share it with your friends and family. Tell us about your experience with this article by visiting our contact us page and filling out a very simple Contact us form, your feedback and suggestions can help us to improve.

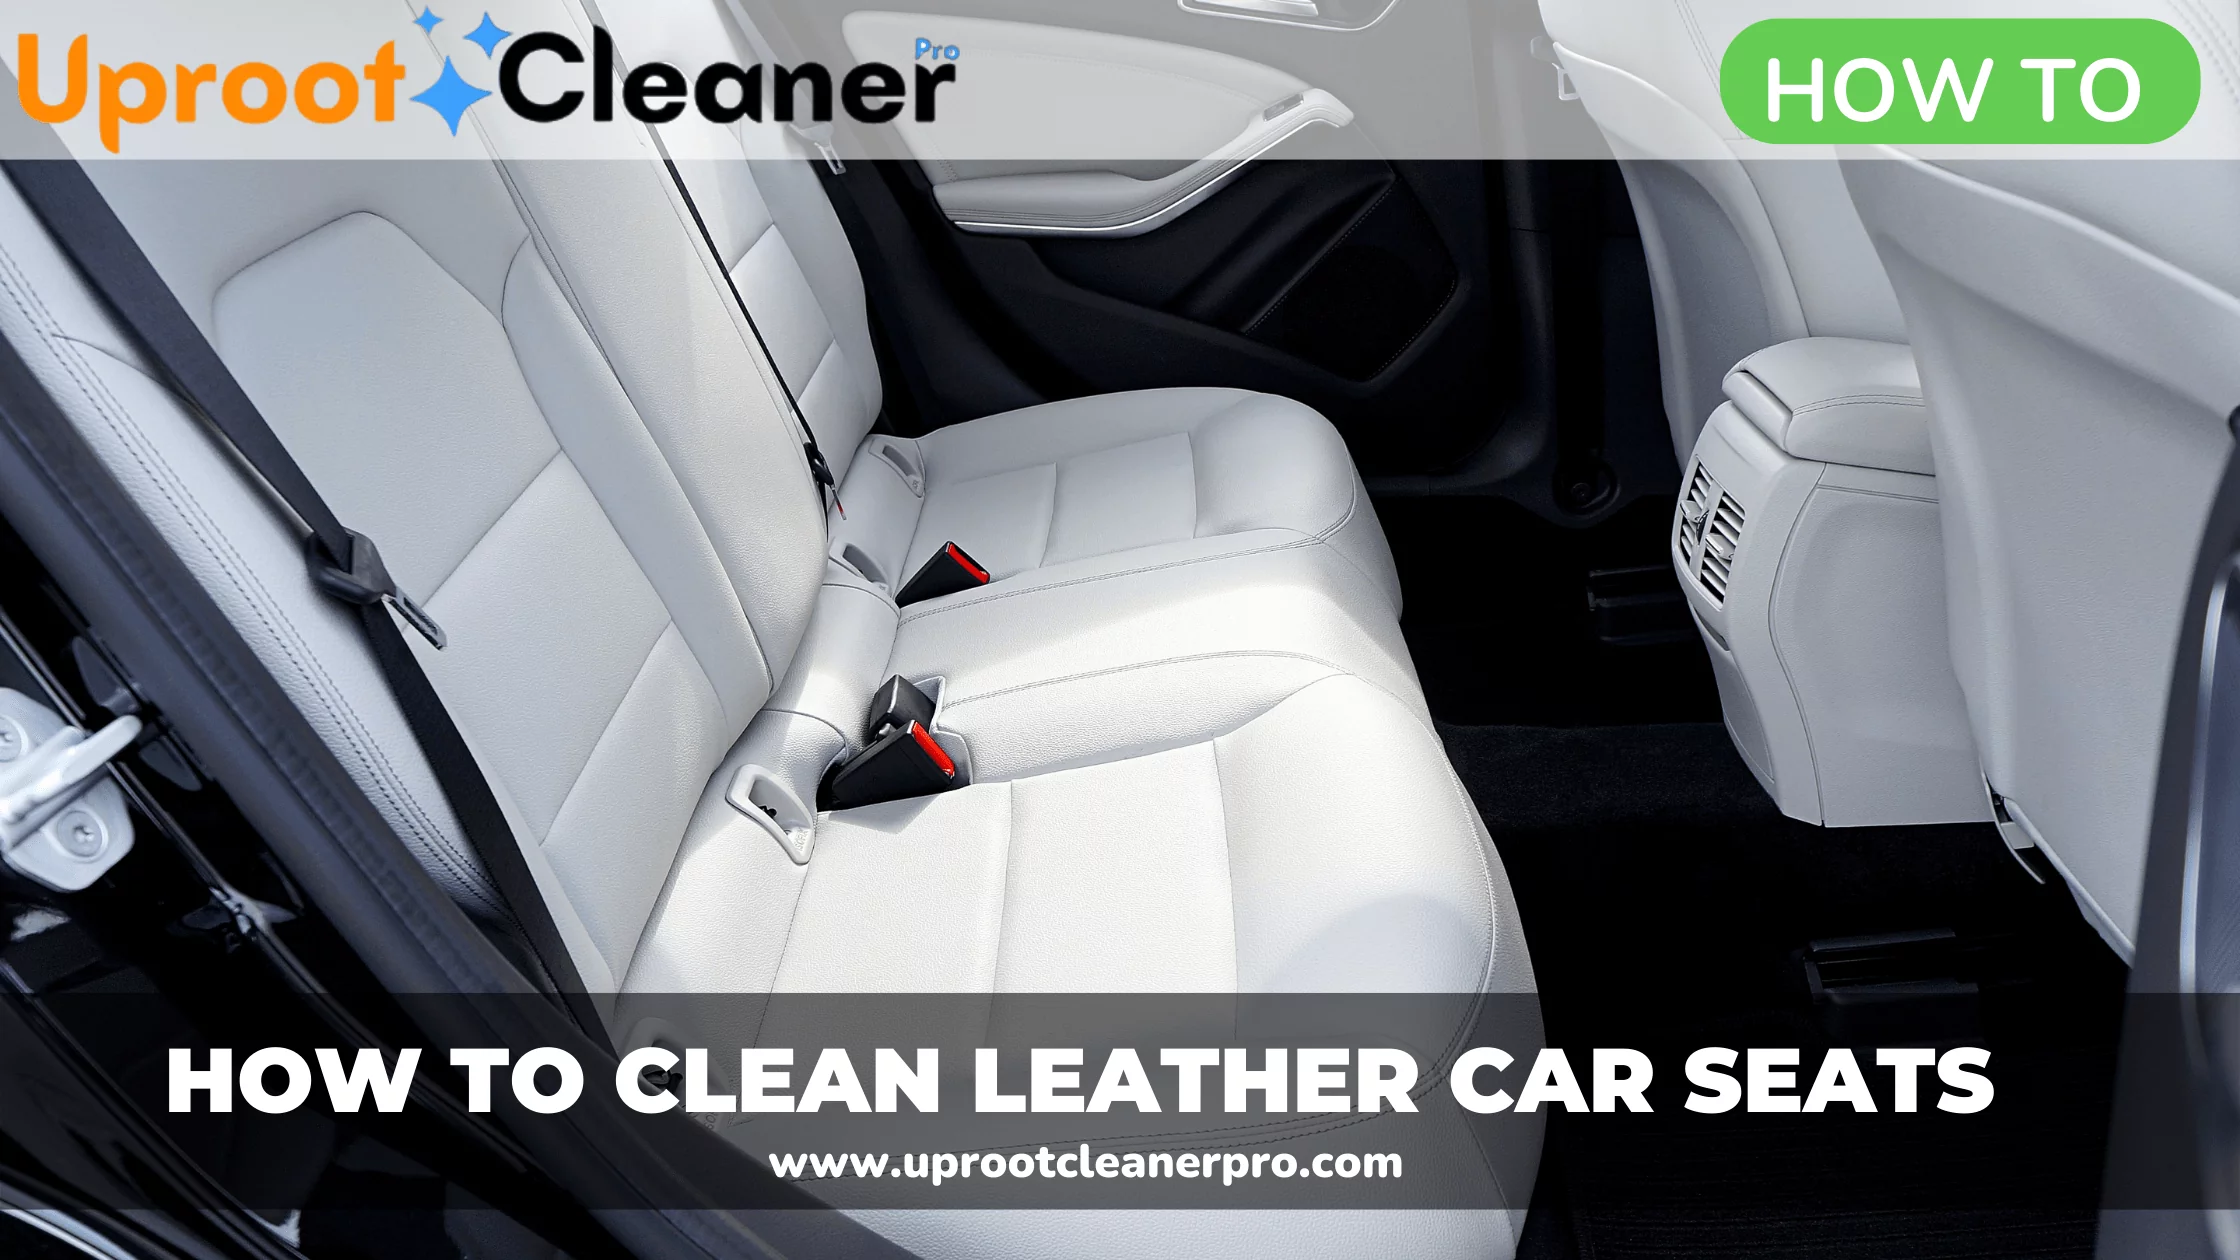
How To Clean White Leather Car Seats – Best Ways To Clean Leather Car Seats

How to clean white leather car seats

Uproot Cleaner Pro is supported by our users like you. When you make a purchase using our links we may earn some commission. How to clean white leather car seats: Hi this is Sam and you are visting Uproot Cleaner Pro, in today’s post we will discuss some best ways to clean lather car seats, learn how to get pet hair or dust out of your leather car seats. Everyone does love their white lather car seats and wants them to be clean of dust, smell, good looking like new leather car seats. So searching for “how to clean white leather car seats?” you are at perfect place to clean your white leather car seats. _how to clean white leather car seats.How to clean white leather car seats: If you’re not sure how to accomplish it properly.  However, we have some gerat ideato clean leather car seatsIn this post, we’ll reveal some good ways how to maintain white leather car seats clean and your car’s interior will look look like a new car seats. Continue reading for more details. Let’s het started. How To Clean White Leather Car Seats Step-By-Step Guide How to clean white leather car seats: Because it’s smooth and attractive, clean leather car seats are popular choice for automobile interiors. However, it may be difficult to maintain white car seats clean. You must should clean your white leather car seats on the regular basis to keep them look like brand-new, best for cleaning leather car seats. ALSO READ: How To Remove Rust From Cars Without Sanding? What You Need To Clean Leather Car Seats? How to clean white leather car seats: There are several methods for cleaning leather seats, the main part of this article is starts from here follow the the step-by-step guide to clean car seats.Here are some tools and materials you will need to clean your white leather car seats: Baking soda (Click to Buy it) Nail polish remover (Click to Buy it) Lemon juice White vinegar (Click to Buy it) Leather Cleaner (Click to Buy it) Clean Cloth Here’s How To Clean White Leather Car Seats? 4 Ways To Clean Leather Car Seats Prepare for cleaning your seat: Before you start cleaning white leather car seats must gather all required items at one place and purchese excelent quality cleaning products. How to clean white leather car seats: Baking Soda: An all-purpose cleanser that may also be used to clean white leather seats. If there is grease or oil upon that surface, this is a good option. All you have to do is rub baking powder on the area which is affected. Allow it to soak the oil on the leather overnight. Wipe off the surface with a clean towel the next morning. Toothpaste: If a specific section of the seat is discoloured, toothpaste will work wonders. Wipe the spot which needs to be cleaned with a moist towel. Rub a little amount of toothpaste on the discoloration with your finger. Use a clean toothbrush to rub it. When finished, wipe down the area with a clean dry cloth. Nail Polish Remover: If there’s ink/oil on the seat, use nail polish remover to remove it. Apply nail paint remover on the end of a cotton swab and dab it only on the stain. Avoid rubbing it as this will just make the stain worse.White Vinegar: Make an equal mixture of water and white vinegar. Now this will be cleaning solution. Throw a cotton ball in your solution and massage it on your white leather seat. Finally, wipe it down with a clean cloth or towel. There is no need to be concerned about the vinegar’s odour. It will naturally dry. Lemon Juice: Combine lemon juice and cream of tartar to make a leather car seat cleaning paste. Adjust the amounts of each component to reach the desired density. Rub it on the stained spots and leave it for 28 minutes. After the timer goes off, rinse the mixture with a sponge and finish with a clean cloth or towel. Here our tutorial ends, hope you liked the solution for how to clean leather car seats, stay tuned for more updates on cleaning tips, tricks, guides or visit our previously published posts about cleaning guides I’m putting a post link which is most close to this topic how to remove rust from cars without sanding?

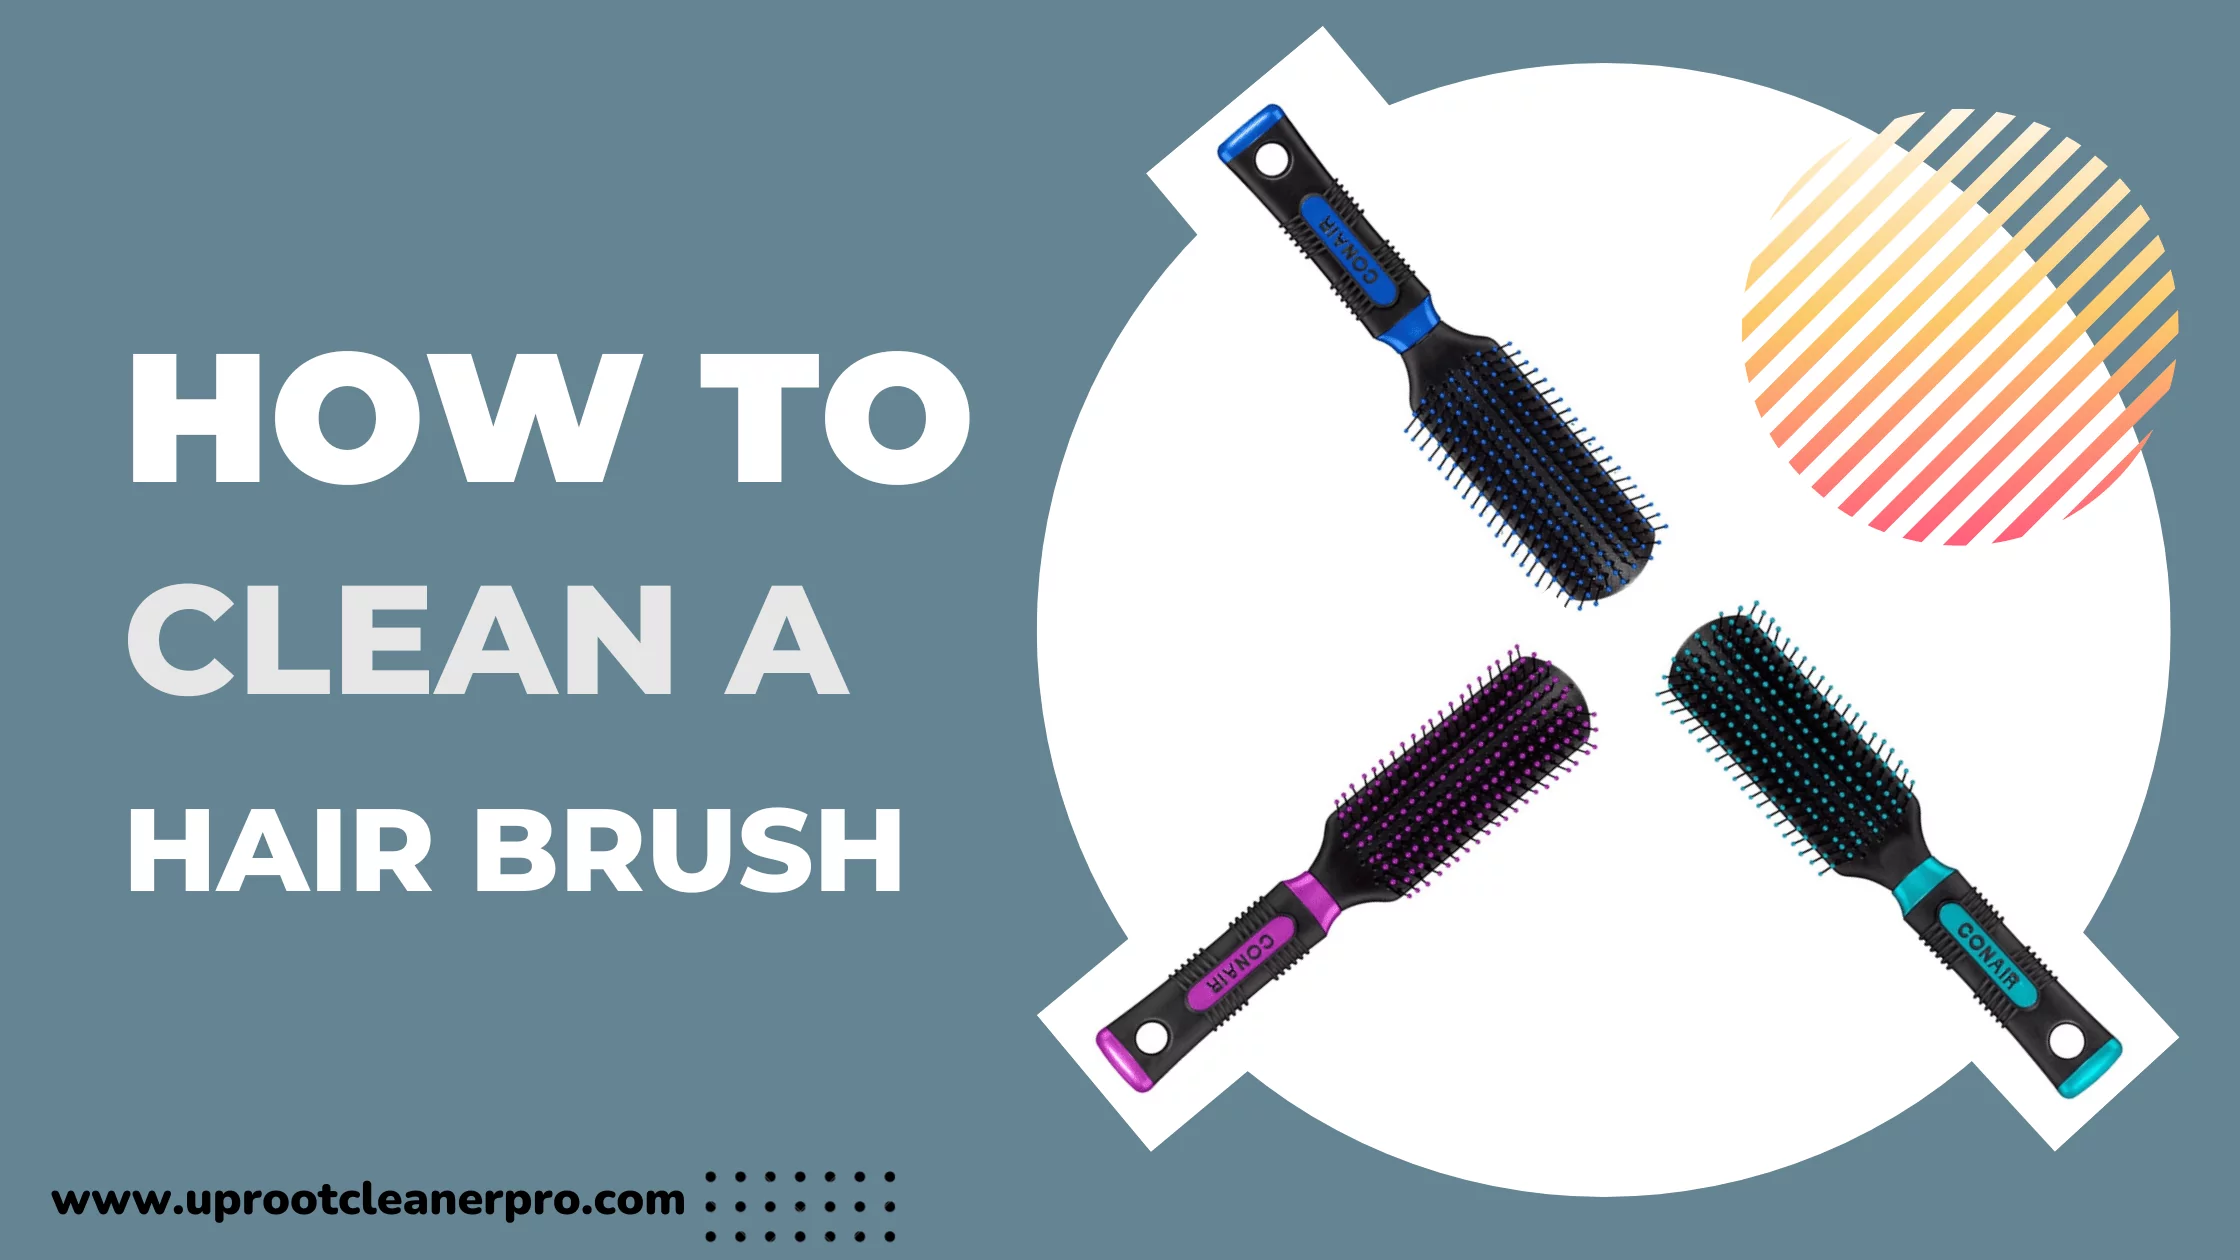
How To Clean Hair Brushes: A Step-By-Step Guide For Cleaning Hair Brush

How to clean hair brushes

We have joined some affiliate programs so we may earn some commission if you buy our recommended products.Hello there welcome to our blog, Are you googling “how to clean hair brushes” if you are looking for a step-by-step guide for cleaning hair brush dust then you are at the right place, in this post I will share a very easy guide for how to clean hair brushes dust, if you follow these steps correctly then, believe me, you can clean your hair brushes simply and quickly, so are you ready to clean hair brushes? let’s get started. ALSO READ: 3 Best Carpet Cleaning Tips And Tricks – Carpet Cleaning Hacks  Why Cleaning Your Hair Brush Is So Important? Let me explain why cleaning your hair brush is very important, First of all, you always love your hair and won’t want them to be dirty in any way so the one point creates here is that this is very important to use a neat and clean hair brush so that we can use it without worrying about extra dust, dirt in our hair. It can leave a lot of dirt, oil, and gunk in your hair if you use an unclean hair brush. Cleaning your hairbrush is so essential if you want it to do its best job without leaving behind unwanted residue. here are the best practices about how to clean hair brushes dust, please follow the steps carefully, and there we go! How Often Should We Clean Our Hair Brush? It depends on the items we use on our hair and how frequently we are using them. so there are no such strict rules that how often we should clean our hair brushes, definitely we don’t have to clean them if we do not use them, but if we using regularly then we have to clean them accordingly. If you often use styling products, gels, or hairspray, it’s a fine decision to clean your hair brushes once per week. If you do not use many hair products, consider making it a routine to clean your hair brush every two to three weeks. Remove any hair which has gathered in the bristle every couple of days to make cleaning simpler. How To Clean Hair Brush – Steps To Clean Dirty Hair Brush Once you experience how to clean hair brush, it will be a very faster process for you and it won’t take too long to clean your hair brush. you need these few things to get started: bowl of warm water, or you can use the bathroom sink a toothbrush gentle shampoo (Buy it) scissors baking soda — optional (Buy it) rat tail comb — optional 1. Remove Hair Form The Brush To remove hair from the brush’s base, use the end of a rat tail comb. If you do not have a rat tail comb, any pointing tool, such as a pencil, pen, or ice picks, can suffice. Scissors can be also used to remove any hair that has been entangled in the bristle. 2. Dip and shake The Brush Fill a dish or a sink halfway with hot water. Swish a few drops of mild shampoo around in the water to make suds. 1 to 2 tablespoons of baking soda can be used for increased cleaning strength. Stir the water well. Submerge the complete brush in water. if it is made from plastic. Allow it to soak for 3–5 minutes. Dip the brush bristles into the soapy water, making sure to keep the padding dry, if indeed the hairbrush has soft cushioning at the bottom in which the bristles join to the brush. A wooden brush should not be completely submerged. This may cause harm to the wood and finish. Simply immerse the bristles in the same manner as stated above for a brush with a cushioned base. Numerous times, dip and shake your brush. It will aid in the removal of oils, dead skin cells, and product accumulation. If your hairbrush isn’t too filthy, this must get rid of the majority of the buildup. 3. Use A Toothbrush – Clean the hairbrush Clean the dirt and leftovers from the bristles of hair brushes and combs using a toothbrush. This will be very useful in cleaning a hairbrush and comb all the way down to the base of the bristles. 4. Rinse And Dry After cleaning your brush, rinse it with a spray of cold water. Alternatively, you can wet the brush’s base and then wipe it dry with just a towel. Allow the hairbrush to dry on a clean cloth or towel, with bristles actually facing. Here is our post about “how to clean hair brushes dust” ends, will meet you with another useful post. I will take a leave thanks for visiting.

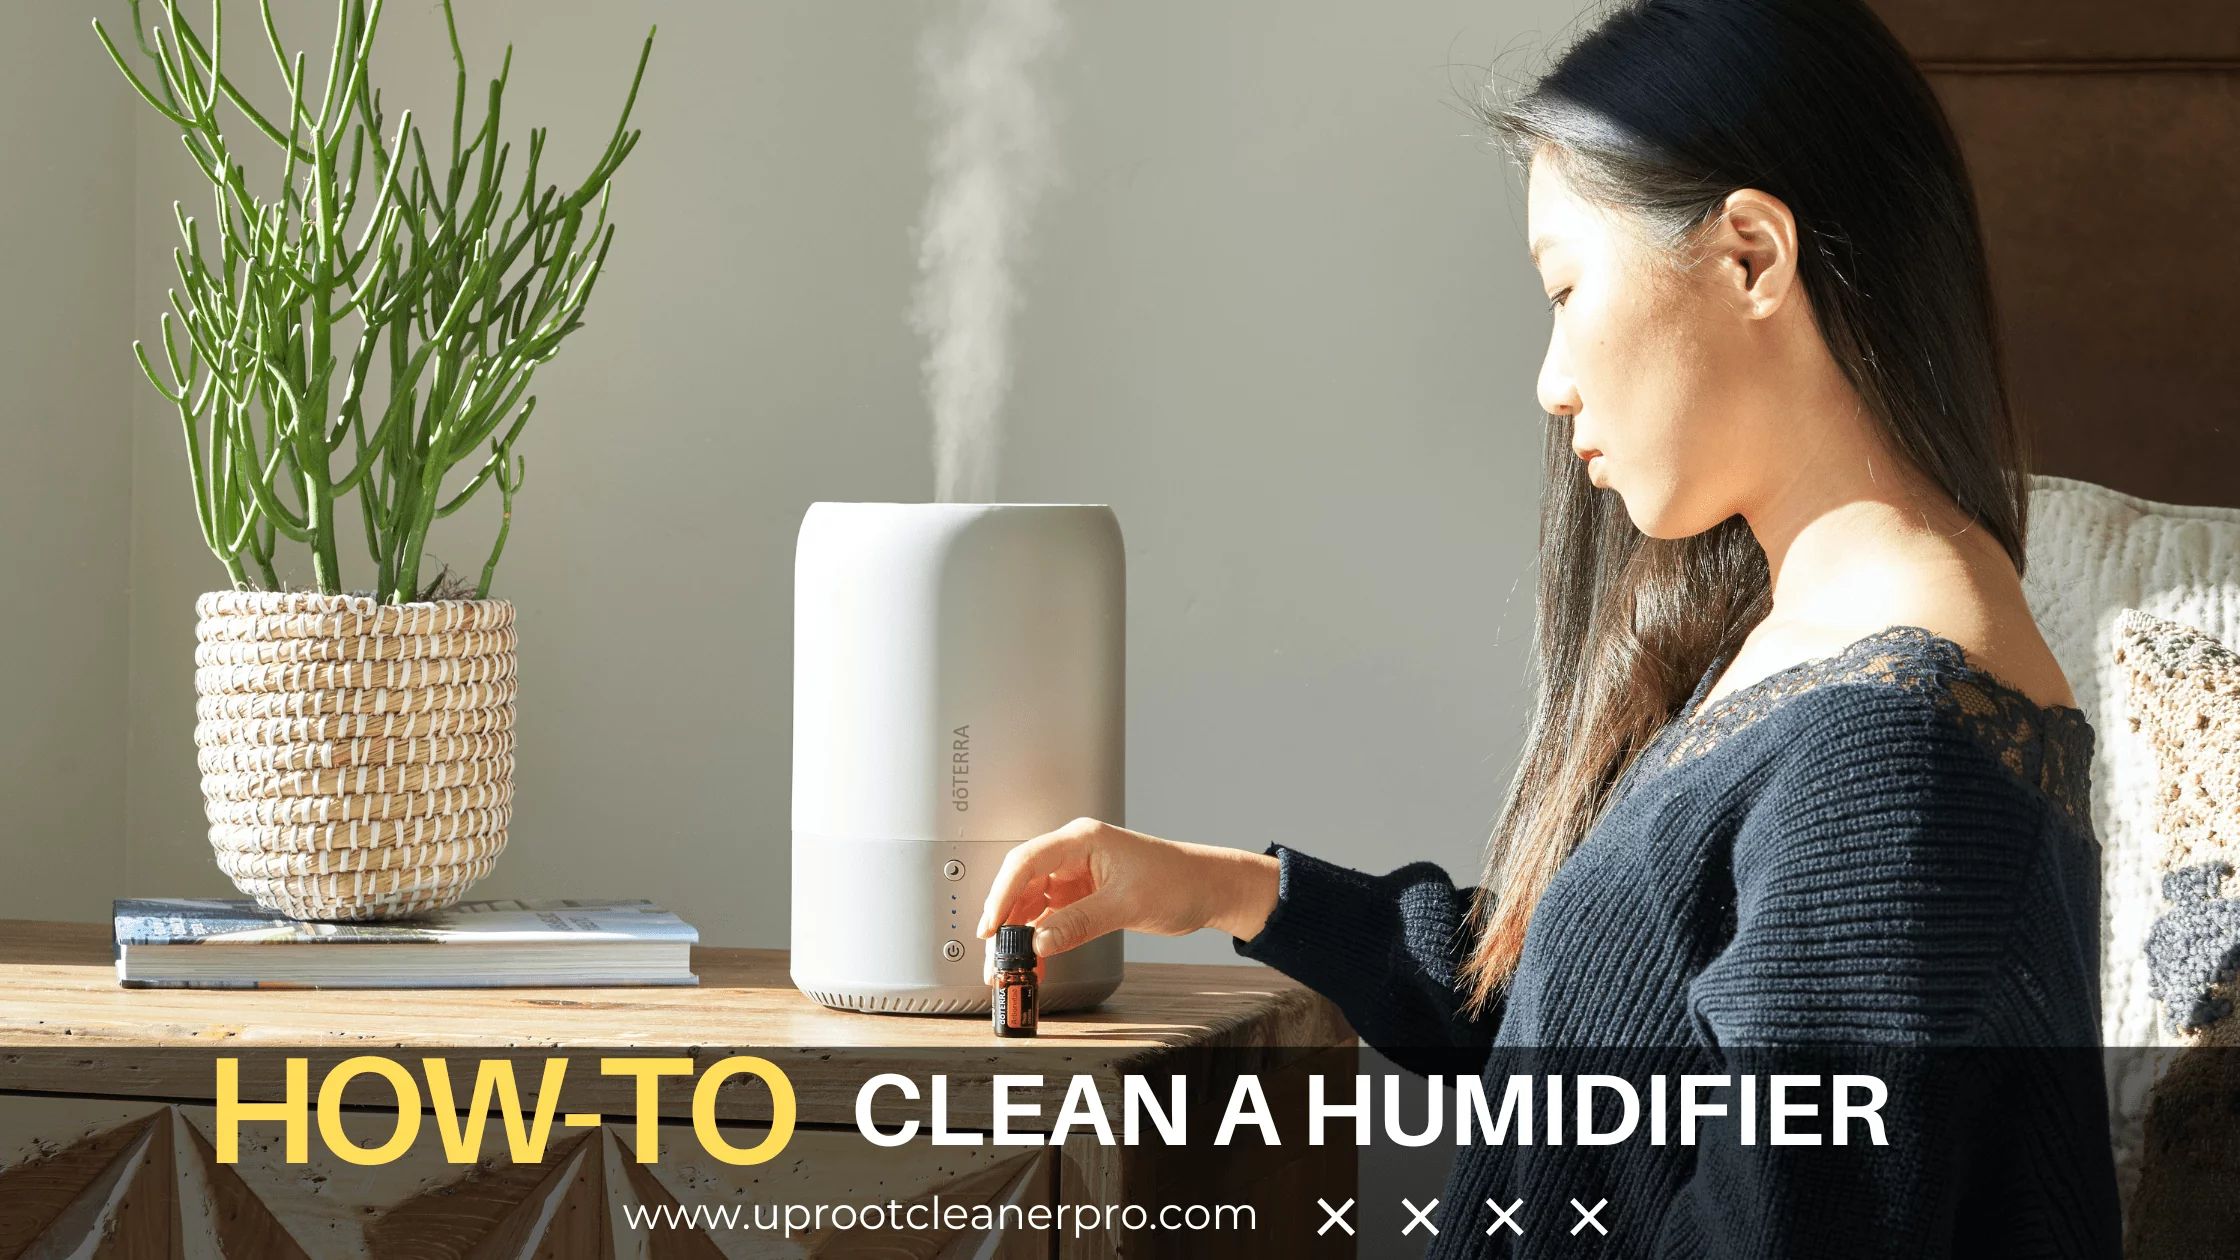
How To Clean A Humidifier: Best Tips To Clean Cool Mist Humidifier

How to clean a humidifier

Hello there welcome to our blog, Are you googling “how to clean a humidifier” if you are looking for a perfect humidifier cleaning method then you have landed at the right place, I’m your today’s cleaning expert and I explain how to clean a humidifier with my expertise, so stay with me and continue reading, let’s start our today’s topic how to clean a humidifier. How To Clean A Humidifier – Why Sould You Clean A Humidifier? There seem to be various reasons why you should clean your humidifier on a routine basis. Humidifiers are ideal habitats for bacteria as well as other infections. If you don’t clean regularly, you’ll be taking in a slew of terrible germs that may trigger asthma and allergies episodes, as well as causing respiratory infections. Long-term exposure can cause lung illness or scarring.ALSO READ: 3 Best Carpet Cleaning Tips And Tricks – Carpet Cleaning Hacks  What To Use To Clean A Humidifier? You should check the manufacturer’s instructions or manual for recommendations for humidifier cleaning products, it’s better to use suggested products and avoid using cleaning chemicals on your humidifier, If you are using any chemical cleaners, wash the tank multiple times with freshwater resources and properly dry it first before re-turning it on. How To Clean Cool Mist Humidifier? How to clean a humidifier – how to clean cool mist humidifier we recommend this tested and 100% working method which is listed below please understand and do the same as explained to clean your favorite cool mist humidifier. Please ensure that the device has been switched off and disconnected. Remove and empty the water tank and then drain the unit’s base into your sink. Allow the base to soak for at least 15 minutes in undiluted white vinegar (just enough to cover the nebulizer). If you see a higher calcium buildup, you may decide to soak it for a longer period of time. While the nebulizer is soaking in vinegar, clean all around nebulizer with a cotton swab to remove shale deposits. Clean the base using water after emptying the vinegar. Do not use the equipment while the vinegar is present.

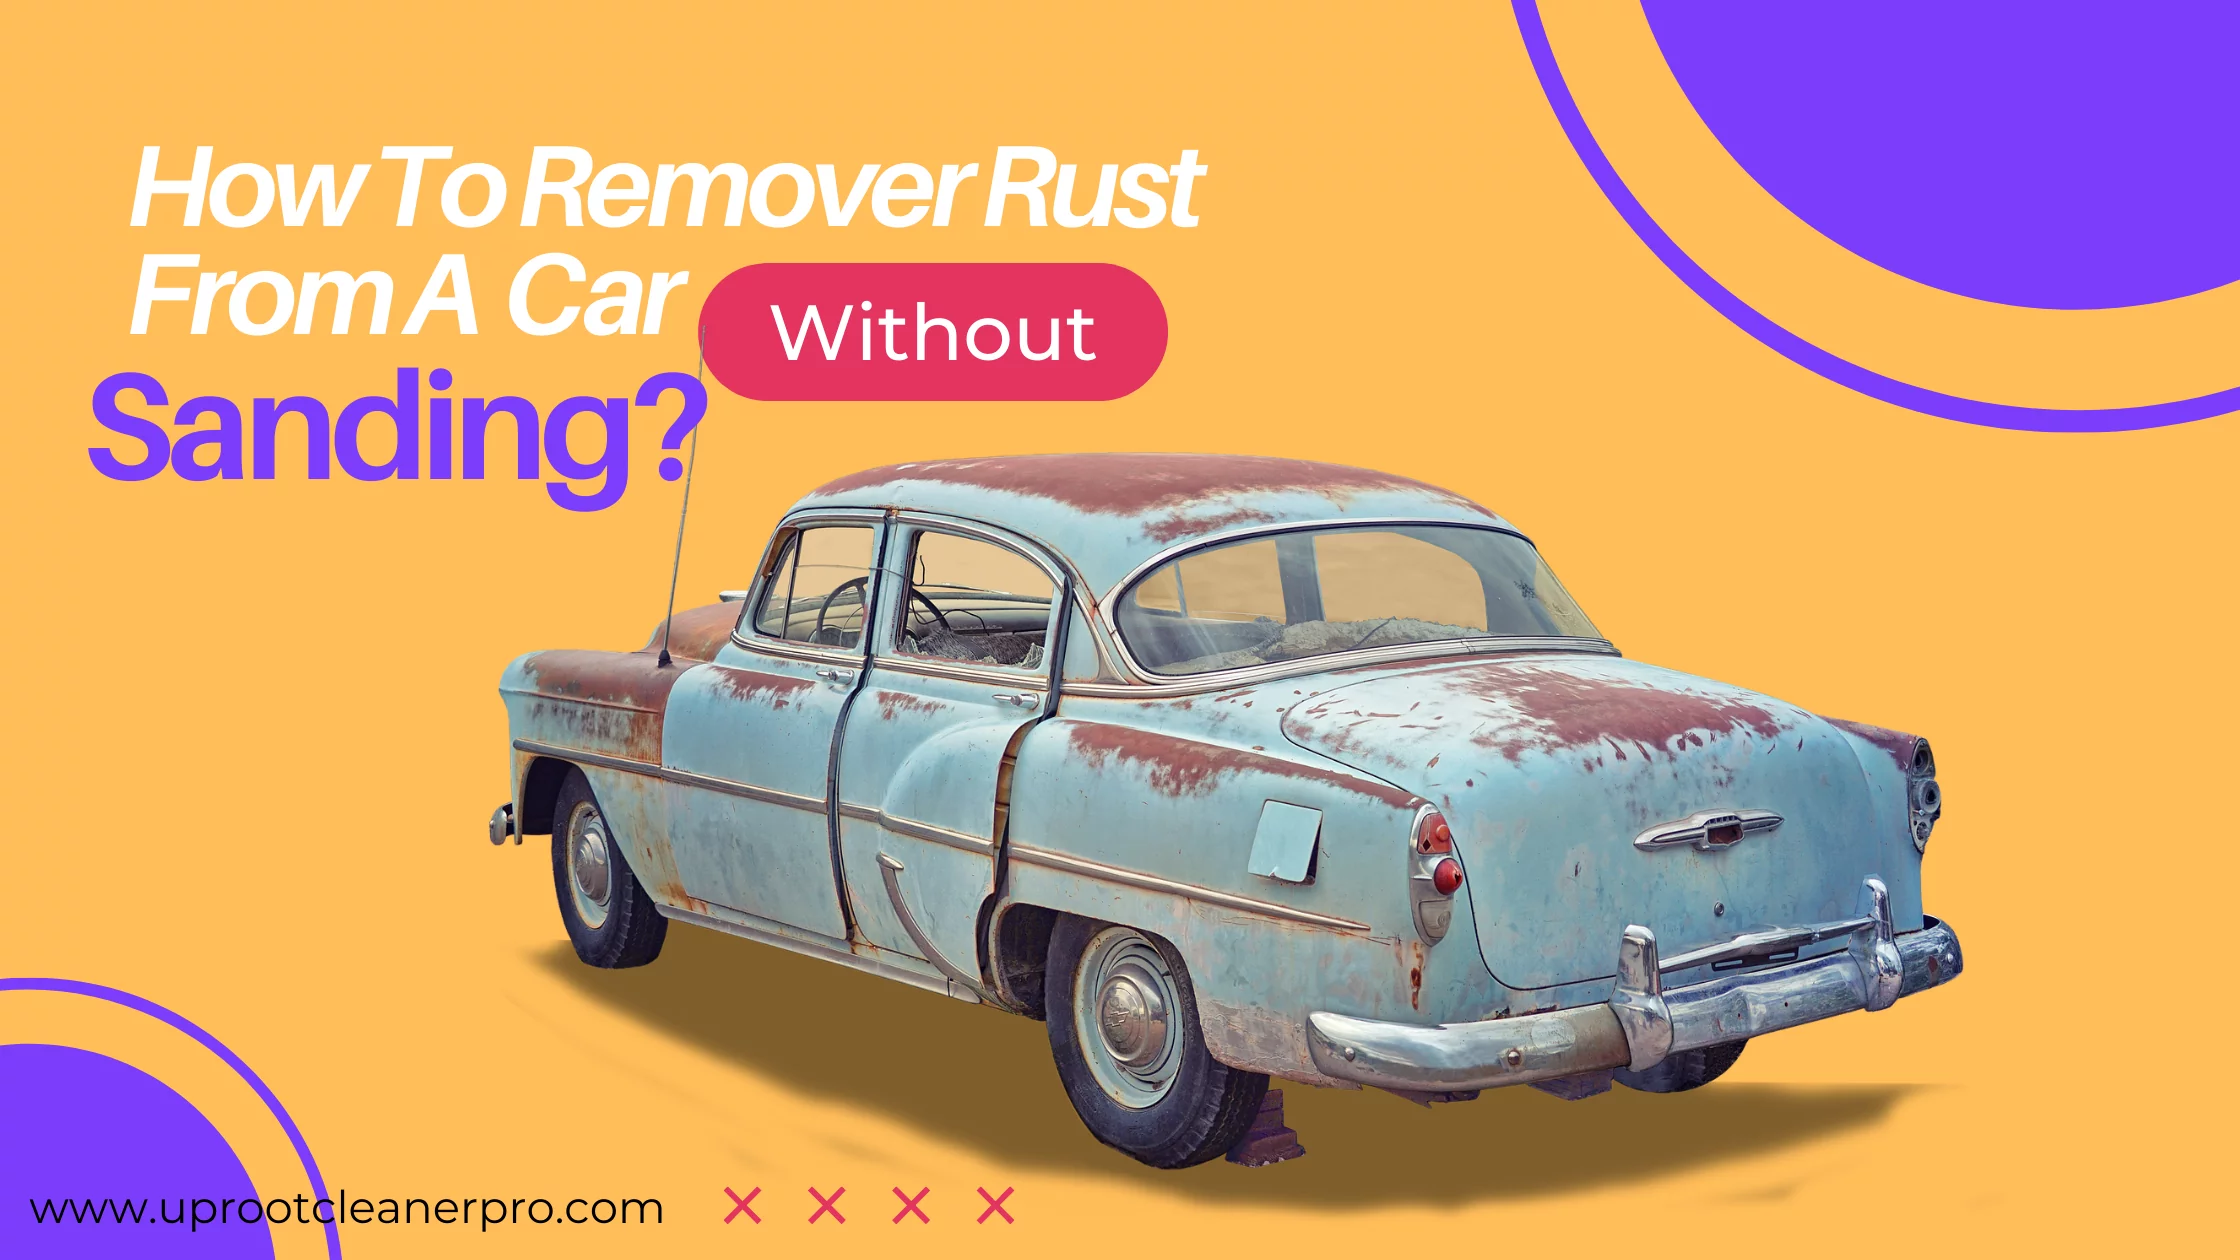
How To Remove Rust From A Car Without Sanding – Best Mathod To Remove Rust From Cars

how remover rust from a car mwithout sanding

I love my car and I’ll never want my car to be rusted and dusted. We look for different ways and solutions to remove the rust from our vehicles, so want to do this process with me? Be with me, in this post I will tell you a very easy and effective method to clean your car and make rust free, beautiful new-looking car. How To Remove Rust From A Car Without Sanding? If you want to remove rust from your car quickly and easily, a chemical cleaner or converter is the way to go. Removers and converters can remove rust from your vehicle without the use of grinders, sanders, or any other power instruments. Whether you want to retain your automobile for a few months or several years, rust may cause significant damage if not prevented. Now, if rust has taken over your automobile and you’re wondering how To Remove Rust From A Car Without Sanding, how to remove surface rust from car. ALSO READ: How Does Lint Roller Work? 7 Ways To Use Lint Roller For Pet Hair Advertisement Continue Reading Before going further, you should understand all about rust. What Is Rust On Vehicle? Rust is often an orange or dark red stain that might vary in appearance based on the kind of rust. You should be on the lookout for three forms of rust. Rust is defined as the chemical process caused by the interaction of oxygen and ferrous metal components. When different kinds of automobile metals are subjected to oxygen, rust can form. Surface Rust: Surface rust occurs as paint nicks, cracks, and scratches and is simple to cure if caught early. Minor snags and scrapes should be repaired as soon as they appear, and surface rust should be kept under control. Scale Rust: It occurs when corrosion dents the metal; this occurs most frequently in regions where unclean or salty rainwater is trapped within the vehicle’s body and accelerating the corrosion rate. Scale rust eventually makes its way through the surface and ruins it. Penetrating Rust: This is the most extreme version of rusting, resulting in cracks in the metal. Parts damaged by penetrating rust can no longer be salvaged and must be replaced. Surface rust should be repaired to avoid penetrating rust. How To Remove Rust From A Car Without Sanding – Follow This Prcess How To Remove Rust From A Car Without Sanding: There are 3 techniques for eliminating rust from your automobile that does not need sanding and you can remove rust from a car without sanding. These 3 mathods have different styles of removing rust. The 3 approaches have been shown to be successful, whether the rust is slight or severe. The rust removers, which frequently contain oxalic, phosphoric, and hydrochloric acid, dissolve rust scratches directly, whereas rust converters turn iron oxide (rust) into a protective chemical barrier. There are three types of converters and removers. Spray: For a speedier application, look for a remover that comes in the form of an aerosol spray. These are best utilized for limited rust cleaning because of their lesser number. Liquid: The vast majority of removers and converters are liquids. While the viscosity of various types varies, they can usually be painted or sprayed on without any problem. Parts can also be immersed in a tub for difficult rust treatments. Gel: Only converters are available in gel form, and they are too thick to use in sprayers. The fact that they are thick helping them to stick to vertical surfaces without leaking. For the greatest effects, paint or roll the gel on and let it dry. How To Remove Rust From A Car Without Sanding By yourself – Wd 40 Remove Rust From Car With a scraper, remove the Rust Crack from any blistered pint. Using 40-grit sandpaper, sand through the rust patches to the metal surfaces. Increase the size of the sanded area so you can feather the edges. To feather the edges of the repair area, use 120-grit sandpaper. Finish the smoothing with 220 grit. ALSO READ: Top 5 Lint Rollers In 2022 – Best Lint Rollers For Pet Hair And Clothes Wd 40 Remove Rust From Car – How To Remove Rust From A Car Without Sanding How To Remove Rust From A Car Without Sanding: Unlike other rust removers that include some harsh chemicals, WD-40 does not harm the color/paint on your vehicle. Simply do spray of WD-40 into the diseased areas and then wait approximately 15 to 18 minutes to eliminate the rust. WD-40 is easily breaking down the rusty scratches that have built up on the surfaces areas in those 15 minutes.

How To Use Scotch Brite Lint Roller Amazon How It Works, Price, Refills Full Overview

How To Use Scotch Brite Lint Roller

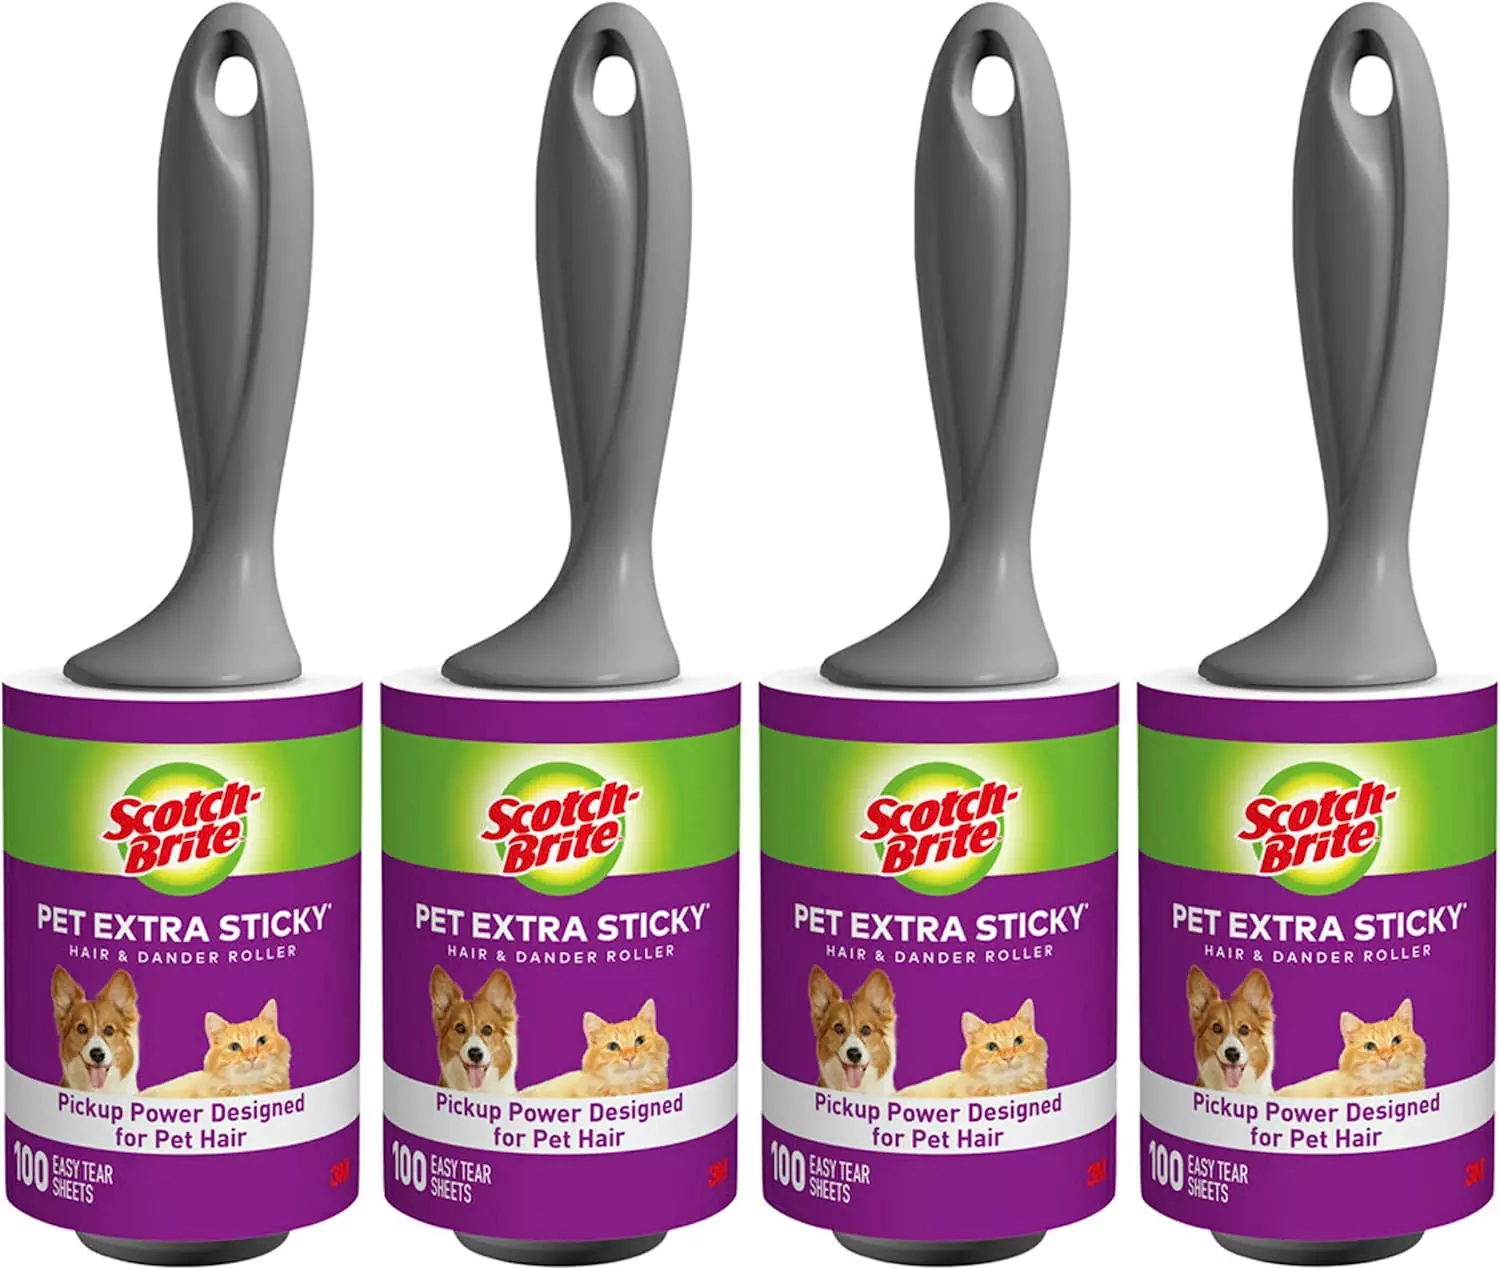
How to use Scotch Brite Lint Roller And It’s Refills Want to know about Scotch Brite lint roller, and how it works? how we can perfectly use Scotch Brite lint remover, how easy and efficiently the Scotch Brite works, and where to buy the original Scotch Brite lint roller, in this post I’m covering all these queries and explaining them in a better way. Before we learn the right process to use a Scotch-Brite lint roller, let’s talk about lint rollers how a lint roller works what types of lint rollers are available in markets how different are they from each other. which lint roller is best for clothes and carpets, how to use a lint roller on clothes or not to use, and which lint roller to use on clothes. Types Of Lint Rollers – How Lint Roller Works? Lint removers are used to clean clothes of pet hair, fuzz, lint, and even dust. Lint rollers with adhesive are a common way to remove lint. These typically have a handle and a roll of adhesive tape to be rolled around the surface of your clothing. Lint rollers are commonly used on clothing, but bigger lint rollers may be used on mattresses and furniture as well. Lint removers come in a variety of styles, including combs that pick up fluff and pills from garments and even battery-powered lint removers for sweaters. ALSO READ Chom Chom Lint Roller Full Review Scotch Brite Lint Roller How It Works? It has very stick tape which cathces dust, fuzz, lint, dog and cat hair and attaches them on itself. The sticky surface of the tape is rolled on the cloth using adhesive lint rollers. The adhesive pulls up dust, hair, crumbs, and any other form of lint as it rolls along the surface of garments or bedding. It’s a very sharp and effective and gathering lint from clothing.  When lint accumulates on the tape, it may be peeled off and removed, revealing a clean piece of tape for future use. Lint combs and brushes have a little grated surface that attracts lint and pills as you drag the comb over the cloth. Some battery-powered lint removers pull off fuzz, pills, and other lint from garments using a covered blade. Where To Buy Scotch-Brite Pet Extra Sticky Hair Lint Roller Check The Price On Amazon How To Use Scotch Brite Lint Roller – What Customers Say! How To Use The Lint Roller Keep lint, fuzz, and hair out of your garments. Apply to jeans, jackets, sweaters, dresses, suits, formal clothing, and other items. The Sticky Experts are the only company that uses Scotch Brand glue. Every time, the sheets are guaranteed to peel neatly. 6 refills, 60 sheets each refill, 360 total sheets Scotch Brite Lint Roller Review Anyone who has a fuzzy mutt that they enjoy chasing around the house knows that dog hair goes everywhere. I like to wear black, so you can guess where this is heading. I purchased the Scotch Brite lint roller with refills of 5-roll bundle and I say wow, It’s a magic, using it on a regular basis if you look at her funny. Yeah. That’s how horrible it is. And it’s well worth it. Scotch Brite Lint Roller Refills Amazon Scotch Brite Lint Roller Refills Amazon is an alternative to the Scotch Brite lint roller when it finishes you can order the scotch Brite roller refill sheets to continue lint remover work. Buy Scotch Brite Refills On Amazon

7 Ways To Use Lint Roller For Pet Hair – How I Use Lint Roller Remover

How To Use Lint Roller For Pet Hair – What Are The Types Of Lint Rollers Lint roller for pet hair – Lint removers are used to clean clothes of pet hair, fuzz, lint, and even dust. If you are a pet owner the lint rollers are very essential for you. Lint rollers with adhesive sheets or stainless steel blades are the most common way to remove cat and dog hair. These lint cleaners typically have a handle and a roll of adhesive tape also called adhesive sheets to be rolled around your clothing, carpets, rugs, furniture, and more.  How and where do I use a lint roller? Lint rollers can be commonly used on clothes, but big lint remover rollers are used to work on mattresses and furniture as well. Lint removers are available in a variety of styles, such as combs that pick up fluff and pills from garments and battery-powered lint removers for sweaters, and clothing. There are two major variations of lint rollers in the market which are the most popular one is the manual lint roller and the other one is a battery-powered lint roller. Video: 19 Awesome Ways To Use Lint Roller (Credit: Clean My Space) WANT A BEST LINT ROLLER? Click Here To Buy Our Selected Lint Roller The dreaded lint remover. It’s not so heavy. It’s clingy. You should always keep one in your sock drawer, it’s a very smart idea to keep one in car and in your bags. When you really do not feel like bringing out the vacuum, it makes fast work of picking up life’s little messes. Honestly, you’d be shocked how many cleaning tasks you can complete around the house with just a couple gestures. How Does The Lint Rollers Works? The sticky surface of the tape is rolled along the cloth using adhesive lint rollers for dog hair. The adhesive pulls up dust, hair, crumbs, and any other form of lint as it rolls along the surface of garments or bedding.  When lint accumulates on the tape, it may be peeled off and removed, revealing a clean piece of tape for future use. Lint combs and brushes have a little grated surface that attracts lint and pills as you drag the comb over the cloth. Some battery-powered lint removers pull off fuzz, pills, and other lint from garments using a covered blade. Reusable lint roller for clothes Lint rollers for clothes and furniture have as many applications as there are fabrics in your house. The lint rollers are a important part of life for pet owners. If you are a dog or cat owner the lint roller is must for you.  Lint rollers for cat hair are useful for cleaning pet beds and sofas, carpets, rugs, stairs, cushions, cars interiors/car seasts, furniture, pet trees, and even stuffed animals. Pet hair lint removers should be used on a regular basis to keep garments and other materials appearing new and fresh. Tip: use pet hair roller at least 3 days in a week. Here Is 7 Incredible Ways To Use Lint Roller Here in this post, you will learn 7 ways to clean pet hairs that experts use. we brought some rare methods for you that you can use to remove pet hair dog and cat hair using a lint roller, so are you ready to get into the 7 ways to use a lint roller? Buy an expert’s choice lint roller Click Here To Buy Our Selected Lint Roller 1. Use Lint Roller On Fuzzy Towels While you see lint or fuzz around your bathroom towels, use a lint roller to refresh the terry cloth. To remove them, use a lint roller or wrapping tape over your palm sticky-side-up and push over the towels gently lift the balls.  2. Clean your pockets with lint roller Pockets may be difficult to clean, which is partly why they become filthy so quickly. Rather than using wipes, insert a lint roller deeply through into pockets to keep them clean. 3. Use A Lint Roller Ro Remove Dirt From Lampshades With just one swipe, you can remove common debris from all of your lamp shades – no energy necessary. It’s as easy as it sounds. Simply run a lint roller from over shade to remove any dust. If the tape becomes too clogged with dust too early, simply replace it and continue cleaning. see more about lint removing from lampshades on this blog. 4. Wash Pet Hair Get Lint Off Clothes When your clothes are extremely lint-covered, you might try to wash them before attempting to use a lint roller tool. There is also a best trick to this! Follow the cleaning directions for your specific garment and add a 1/4 cup of vinegar to the rinse cycle along with the washing liquid. 5 Clean Stray Hairs In The Bathrooms Excess hair on washroom surfaces may make the entire room appear unclean. Remove the random air from a basin, bathroom floor, and beneath the shower with a lint roller. In tricky spots, such as beneath cabinets, use a lint roller. click here to see more about this. 6. Try Lint Roller On Over The Broken Glass A lint roller ensures that every microscopic splinter is removed.When glass breaks, the microscopic bits can become dispersed and eventually stomped on. If you’re concerned that you might have missed some little glass pieces when cleaning, use your portable lint roller to pick up any tiny particles that remain. Better to be cautious than sorry! see more here. 7. Clear Up Any Spilt Glitter Or Craft Items. Have crafty childen? you know how difficult it is to clean up the artwork that use glitter, dirt, and small bits of paper or fabric. How to remove these difficult things? Lint rollers are also recommended clean these types of dirt very easily. “Just run a lint remover roller over your carpets,  furniture, and floors to pick up stray glitter and garland to swiftly and conveniently clean up after decorating. Extra! Use Lint Roller In Kitchen If you see … Read more

How To Make Diy Lint Roller In Just 20 Seconds Using This Lint Remover Hack

Looking For Something To Do At Home? Let’s Manually Make A Diy Lint Roller After reading this post you will be able to make your own lint roller and easily remove any cat and dog hair from carpets, clothes, sweaters, and more. Here in this post,  I will be sharing our favorite method and easy process to make a DIY lint roller and get fuzz, pet hair, dog hair, cat hair, human hair even any hair from clothes. So stay with us and spend at least 5 minutes in this article reading our step-by-step guide on how to make a self-created lint roller. Watch Video To Make lint roller with your self mathod How to remove pet hair, dog, and cat hair with a self-made lint roller. If you’re searching on google/bing that how to make a DIY lint remover at home, then this post is the perfect solution for you to make your own lint roller and be a lint roller pro with uproot cleaner pro. HOW TO MAKE DIY LINT ROLLER – Read Folowing Lines We have gotten an amazing lint remover hack for you to try and make a handmade lint remover tool, how do make it? the solution will be at end of this post, before you get our method it’s very important to learn what is DIY lint roller and how it works.  We can also create the best lint cleaner uproot cleaner pro lint remover/lint roller with a spinning pin and a piece of the roll of broad tape. How you will do it? let’s see: Put the masking tape on the rolling pin’s end after unrolling it.  We need to make sure the smooth side of the tape is facing the rolling pin and the adhesive side is facing us. Just like with candy sticks, we gently spiral the ribbon around the instrument, making sure that each curve just touches the one before it. We can cut sticky tape once we get to the opposite end of the rolling pin. If you face the sticking problem of the tape; the sticky tape doesn’t stick on its own, we just attach it with an additional piece of scotch tape. Try to roll it across dress by gripping the handles and rolling it over the cloth until all of the fluff has been gone. Why Use Self Created Lint Roller 1. When you don’t have any lint rollers at home, when you like some DIY works! If you have forgotten where you put your lint roller or you don’t have a lint roller, this is best is the best solution for you to make your own pet hair remover at home, you will enjoy making it if you’re a DIY works lover, I also love to make it with my hand. 2. Get Rid Of Huge, Hairy Mess When you have pets or you’re with human that has sheds, it’s very frustrating to find large, hairy messes in unexpected places. In these heavy-duty or everyday hair-riddled situations, your amazingly self made lint roller will be a great helper. It’ll collect all pet or human hair without requiring to peel and twist off a half-dozen sticky sheets from any disposable rollers. 3. Exact Rolling Across A Broad Region If you don’t have enough to pore for every inch of your interview suit with the little lint cleaner you have on hands before you go, a larger lint cleaning brush with a wider surface area will pack a harder punch, giving you plenty of time to finish your wellness regimen before you depart. Liked it? Share It! If you found this post much helpful then please don’t forget to share it with your friends and family to help them too, If you have any suggestions you are welcome, to help us to improve and provide quality content share your valuable opinion with us using visiting contact us page.